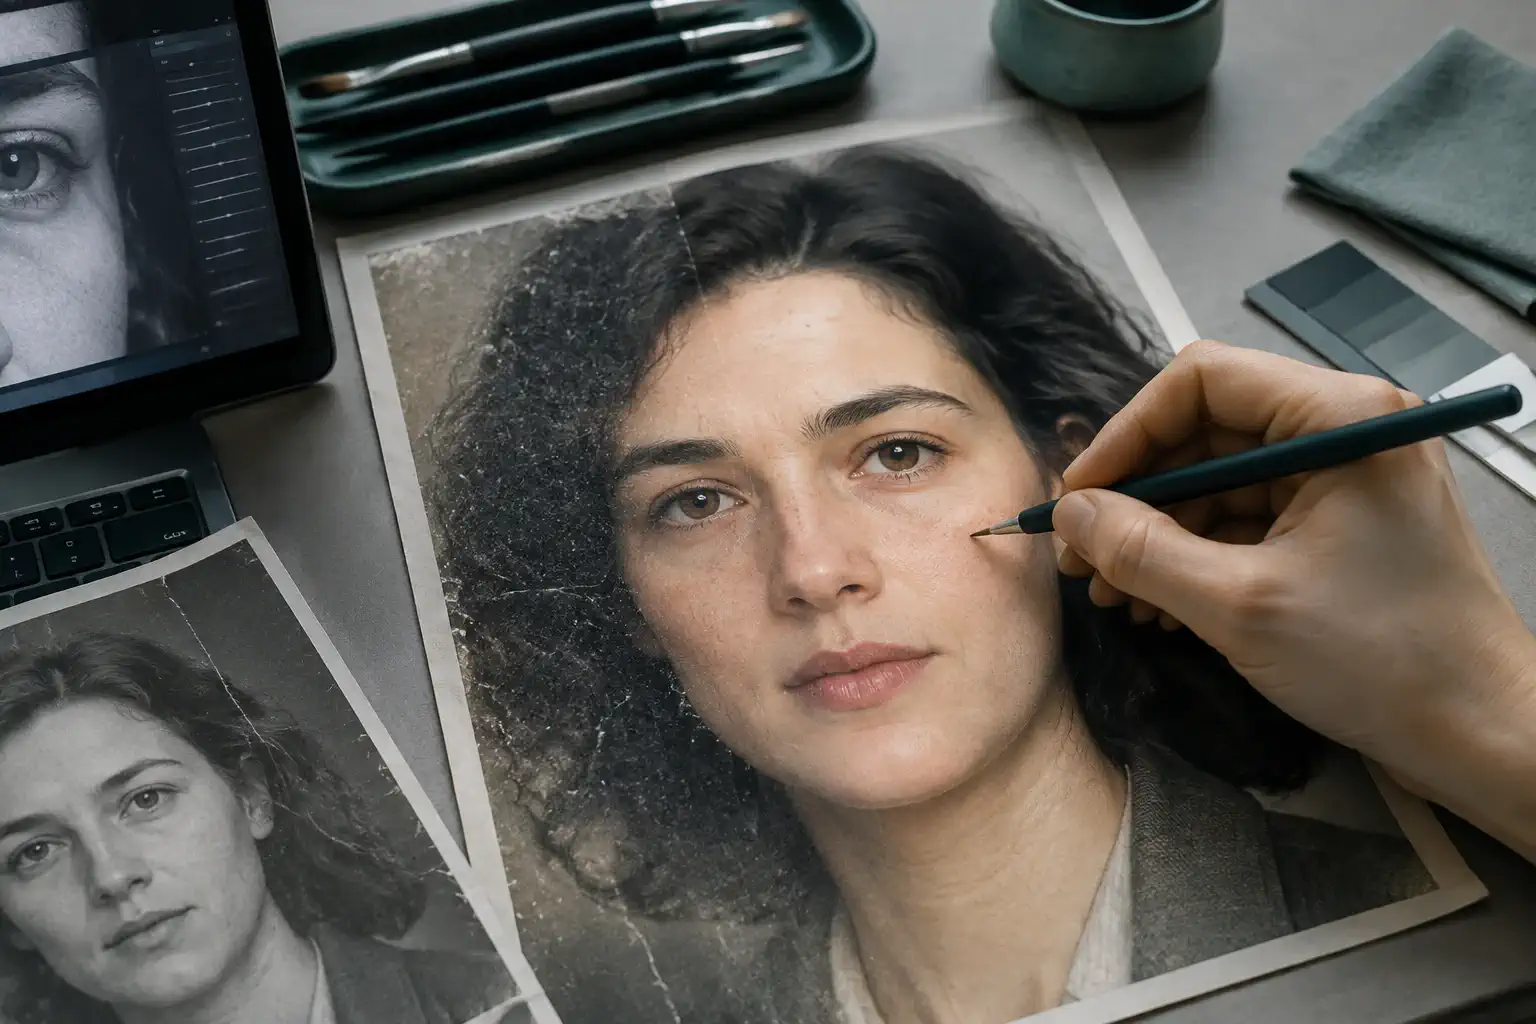
How AI skin enhancer technology retouches low-quality photos is simple in principle: it reduces compression blocks, colored noise, blur and harsh edges, then rebuilds plausible facial detail. The catch is in the word plausible. When information is missing, the model cannot retrieve the exact eyelash, pore or hair that the camera never recorded. It predicts a convincing replacement.
What Does an AI Skin Enhancer Actually Do?
Most AI skin enhancement combines several jobs: denoising, deblocking, local contrast correction, color reconstruction, face-aware sharpening and generative inpainting. Conventional filters can suppress noise or sharpen edges, but a generative editor can redraw uncertain regions so that eyes, lips and hair look coherent. That is why what AI enhancement can change can go beyond a simple clarity slider.
The best mental model is not “restore every lost pixel.” It is “produce a believable high-quality interpretation under preservation constraints.” This framing helps you judge the output honestly. If the goal is a profile picture, plausibility may be enough. If the image is evidence, an archival record or an identity document, generation may be unacceptable.
Why Low-Quality Portraits Break So Easily
A face carries many small, identity-sensitive signals. JPEG compression turns smooth skin gradients into blocks. Low light adds chroma speckles and wipes out shadow texture. Motion blur merges eyelashes, brows and lip edges. Aggressive sharpening draws bright halos around hair and nostrils. Once several defects overlap, a normal denoiser has no clean signal to preserve.
Upscaling adds pixels, not truth. A model can infer the likely structure of an eye or a cheek, but multiple different high-resolution faces could explain the same blurry patch. Our guide to what AI upscaling cannot recover reaches the same practical limit: enlarging a phone image cannot transform it into an image that was optically captured by a better lens and sensor.
Our Synthetic Before-and-After Test
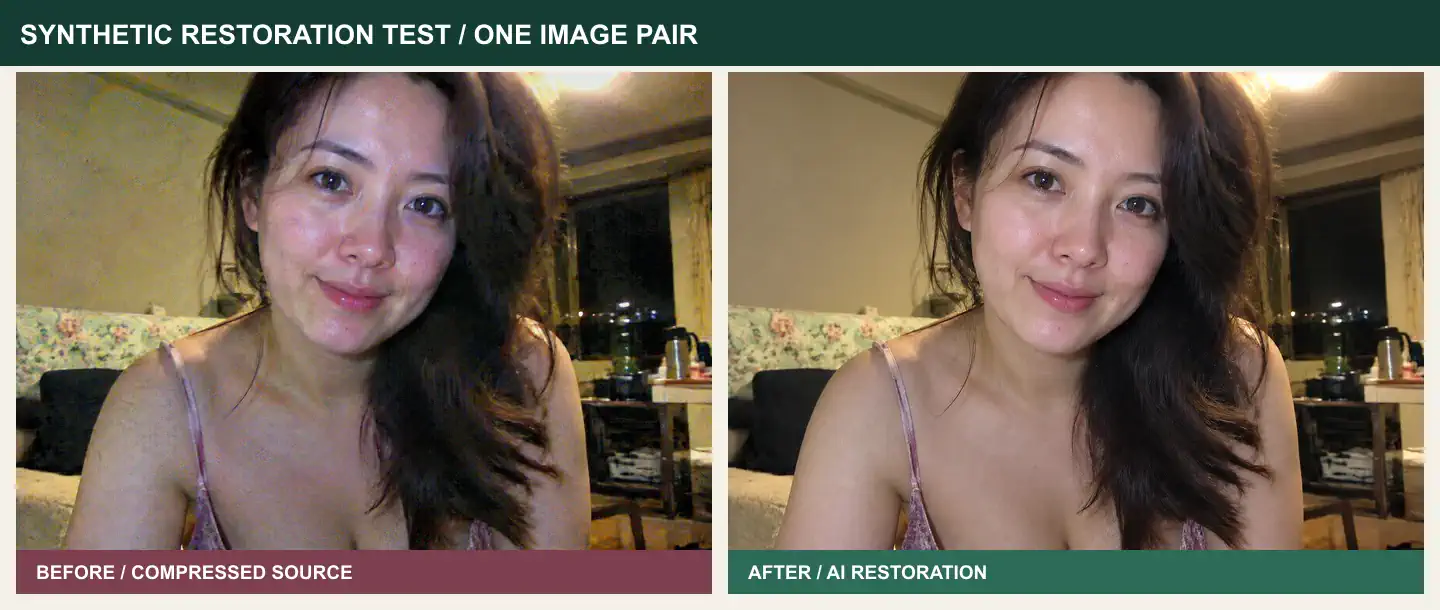
We first generated a fictional adult portrait designed to resemble a damaged social-media image: heavy JPEG artifacts, warm uneven light, colored noise, blocked shadows, mild motion blur and oversharpened edges. We then submitted that exact image to an edit route with instructions to preserve identity, age, pose, expression, clothes, framing and lighting direction while avoiding glamour makeup and plastic skin.
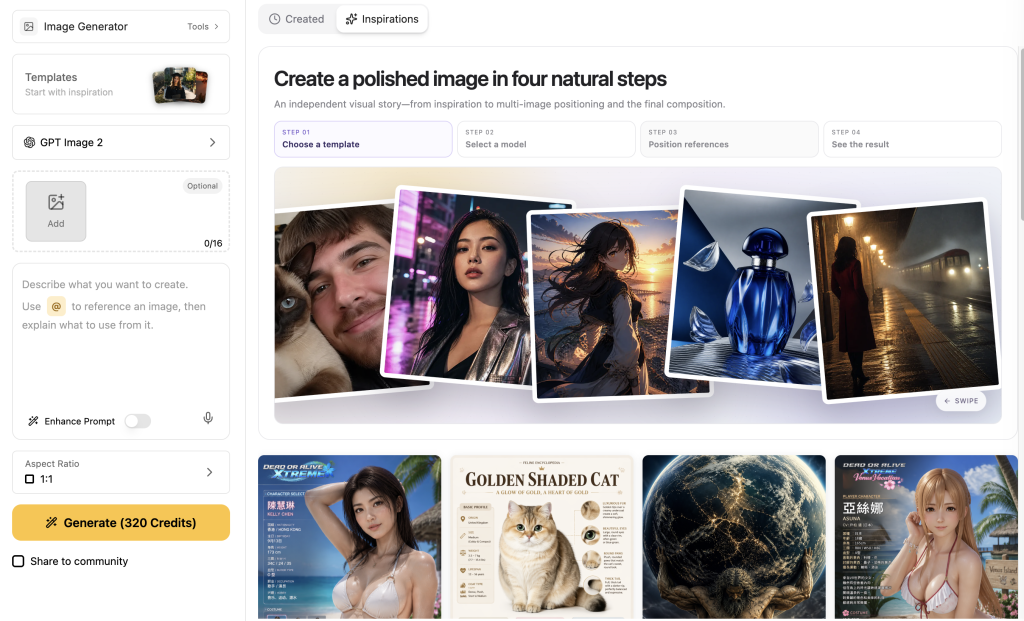
The source task cost 320 GlobalGPT credits and the edit cost another 320. Both completed. This is one controlled pair, not a broad benchmark, but it is more useful than judging a marketing demo because the source, prompt, task IDs and full outputs are recorded.
What Improved, and What Was Rebuilt
The output removed most colored noise and compression texture. Hair became darker and more continuous. The eyes, brows and lips gained cleaner boundaries. Skin color became more even, and the room stopped competing with the face. At normal article size, it looks like a successful restoration.
At full size, the trade becomes obvious. Fine hair strands are different. Pore distribution is different. Eye reflections and the contour around the eyelids are newly synthesized. Background objects and local illumination shifted. Even when the person remains recognizable, those changes mean the edit is not a factual recovery. For a deeper treatment of the blur problem, see the AI photo unblurring guide.
How to Avoid Plastic Skin
Plastic skin usually comes from stacking three instructions: remove every blemish, smooth everything and make the face flawless. The model obeys by erasing texture that communicates age, light and material. A safer prompt specifies defects to reduce and human qualities to retain. Ask for believable pores, small tonal variation, original facial proportions and unchanged expression. Name what must not change.
Work in small passes. Correct noise and exposure first. Review the eyes, hairline, teeth, jewelry and background. Only then request a local skin adjustment. This resembles the control logic in afbeeldingen bewerken met tekstaanwijzingen: narrow edits are easier to judge than one broad “make it perfect” command.
A Safer Restoration Workflow
- Duplicate the original and keep it untouched.
- Write down identity anchors: face shape, age, expression, hairstyle, clothing and lighting direction.
- Correct the largest technical defect first: compression, noise, blur or color.
- Compare at 100 percent, not only as a thumbnail.
- Reject edits that reshape eyes, jaw, nose, mouth or hairline without permission.
- Export a working version and preserve the source beside it.
GlobalGPT users can treat the process as one of several GlobalGPT image-edit workflows rather than a magic one-click repair. For heritage images, the old-photo restoration workflow adds colorization and damage-repair considerations.
Copyable Natural-Skin Restoration Prompt
A good edit prompt separates correction, preservation and prohibition. The copy card below is deliberately conservative. Replace the bracketed defect list with what you actually see, and do not ask the model to “recover” details you cannot verify.
Use a Face-Specific Quality Check
Review identity before beauty. Compare eye spacing, brow arc, nose width, mouth corners, jaw line and the relationship between ears and hair. Then check physical continuity: glasses, earrings, teeth, hands near the face, clothing straps and background edges. Finally inspect texture. Real skin contains pores, fine lines, color transitions and small asymmetries.
If the face passes at thumbnail size but fails when you alternate quickly between source and result, the edit has drifted. Prompting methods from image-editing prompt formulas help structure the next pass, but the reviewer still decides which changes are acceptable.
When AI Enhancement Is the Right Choice
AI enhancement is well suited to creator portraits, old family pictures, marketplace images, small website photos and social assets where the purpose is visual communication. It can save an image that would otherwise be discarded, especially when the original remains available.
It is a poor fit for passports, forensic evidence, medical documentation, authentication, insurance records or any workflow in which a generated facial detail could be mistaken for observed fact. In those cases, use traceable non-generative adjustments and disclose them.
Choose the Lightest Intervention That Works
If the face is already recognizable, begin with conventional noise reduction, exposure correction and careful sharpening. Move to a generative edit only when artifacts have destroyed local structure. If the first AI result changes identity, do not keep polishing it; return to the original, narrow the instruction and reduce the strength of the edit.
The practical standard is not maximum sharpness. It is a result that serves the intended use while preserving the person’s identity and the image’s character. That usually means leaving a little grain, shadow and imperfection.
Match Each Defect to a Specific Repair
Start by naming what is actually wrong. Blocky squares need deblocking. Red and green speckles need chroma-noise reduction. A global yellow cast needs white-balance correction. Motion blur needs cautious edge reconstruction. A dark face may need local exposure before any texture work. “Enhance everything” gives the model permission to alter features that were already usable.
Prioritize defects that hide identity. A slightly noisy wall can remain noisy; a blocked eye cannot. Conversely, do not sharpen an eye until its noise and color are under control, because sharpening amplifies both the feature and the artifact. This repair map also makes approval faster: the reviewer can ask whether the named defect improved without accepting every other change.
Process a Batch Without Losing Consistency
For a set of portraits, select three representative files before processing the full folder: one easy image, one average image and one difficult image. Tune the prompt on those three, record the route and settings, and keep the same preservation language across the batch. Random prompt changes make skin tone and sharpness inconsistent from photo to photo.
After the pilot, sort images by defect rather than applying one instruction to everything. Low-light phone pictures need a different pass from scanned prints or heavily compressed downloads. Review every face even when the batch operation completes successfully. Automation can reduce clicking, but it cannot decide whether a changed eye shape is acceptable for a particular person.
Keep an Audit Trail for Important Images
Save the untouched original, the exact prompt, the generated result and a short note describing why the edit was made. If the image is published in journalism, archives, legal work or research, follow the organization’s disclosure policy and avoid generative reconstruction unless explicitly permitted. Metadata may be stripped during upload, so do not rely on it as the only record.
For ordinary creative work, a simple filename convention is enough: original, cleaned and approved. The approved file should be the version someone actually inspected, not merely the latest output. This habit prevents a later editor from mistaking an experimental reconstruction for the source photograph.
Control Retouching Strength With Checkpoints
Do not decide quality from a single before-and-after slider. Review the edit at three scales. At thumbnail size, check whether the face reads more clearly and the exposure feels balanced. At normal viewing size, inspect expression, color and overall texture. At 100 percent, compare identity landmarks and generated microdetail. An image can succeed at one scale and fail at another.
Create checkpoints after technical cleanup, facial reconstruction and cosmetic polish. The first checkpoint may already be enough. Every later pass increases the chance of changing identity, so it needs a clear reason. If a client asks for smoother skin, define whether that means reduced noise, softened temporary blemishes or removal of permanent features. Those are different edits with different consent implications.
Finally, compare on a calibrated or at least consistent display. A bright phone screen can hide blocked shadows and exaggerate smoothness. Export in the color space and dimensions required by the destination, then review that actual file. Retouching is complete when the delivery version works, not when the editor preview looks impressive.
The Honest Verdict
Our test produced a clearly more usable portrait, but it also regenerated details across the face, hair and room. That is the core truth behind AI skin enhancement: cleanup and invention happen together. The safest workflow preserves the source, limits each pass, compares identity-sensitive regions and labels a reconstruction when accuracy matters.
Set the success criterion before editing: better readability, a natural web portrait or a respectful family-photo copy. That keeps the process focused on a real use instead of endlessly increasing sharpness and smoothness.
Try the image workflow in GlobalGPT when you want to compare editing routes without moving the project across separate tools. Start with one image and one precise preservation prompt, then judge the full-size result before processing a batch.
Practical next step: choose one representative portrait, write down the facial details that must remain unchanged, and run one conservative correction. Compare the source and result at full size before changing the prompt. If the edit already meets the intended use, stop. Every additional pass should solve a named problem rather than chase an abstract idea of perfection. Keep the original, the approved result and the prompt together so the decision remains traceable.
Veelgestelde vragen
Can AI really restore detail in a low-quality face?
AI can reconstruct plausible detail and improve readability, but it cannot prove that a newly drawn eyelash, pore or hair matches the original scene. Treat the result as an interpretation.
Does an AI skin enhancer only smooth skin?
No. A face-aware enhancer may also reduce compression, correct color, sharpen features, rebuild hair edges and alter the background. Review the entire frame, not only the cheeks.
How do I keep skin from looking plastic?
Ask for natural pores, tonal variation and unchanged facial proportions. Remove one defect at a time, avoid “flawless” language and compare the result with the source at full size.
Is AI photo enhancement safe for old family photos?
It can be useful if you preserve the untouched scan and label the edited copy. Avoid presenting generated facial or clothing details as documented history.
Can I edit low-quality portraits in GlobalGPT?
Yes. GlobalGPT provides image-generation and image-edit routes. Model availability and credit cost can change, so review the current route before starting a large batch.
What should I check before publishing an enhanced portrait?
Check identity, eyes, teeth, hairline, jewelry, hands near the face, background geometry and skin texture. Keep the original and disclose generative restoration when factual accuracy matters.