
Why Most AI Blog Images Feel Generic
The problem usually begins before generation. A writer types “futuristic AI marketing image,” accepts the first glossy result, and places it between two paragraphs. The picture may be technically impressive, but it says nothing specific. Neon interface fragments, anonymous people staring at laptops, floating symbols, and unreadable pseudo-text do not help the reader understand the article.
A useful image answers one of four questions:
- What is the article about?
- How does this step work?
- What evidence supports this claim?
- What changed between the input and output?
If the image answers none of them, it is likely visual filler. Remove it or replace it with an asset that has an editorial role.
This is also why a single image model is rarely ideal for every article. One model may create excellent photographic scenes but weak typography. Another may edit a reference accurately but produce less natural people. The Vergelijking van de beste AI-beeldgeneratoren helps map tools to jobs, while ChatGPT-alternatieven voor afbeeldingen is useful when you want options beyond one ecosystem.
Start With an Image Map, Not a Prompt
Before opening an image generator, outline the article and assign an asset to each place where a visual would materially help. This image map prevents overproduction and keeps every asset connected to the copy.
| Slot | Editorial job | Best source | Typical format |
|---|---|---|---|
| Hero | Identify topic and earn the click | Generated or designed | 3:2 WebP |
| Tutorial step | Show the real interface/action | Product screenshot | WebP |
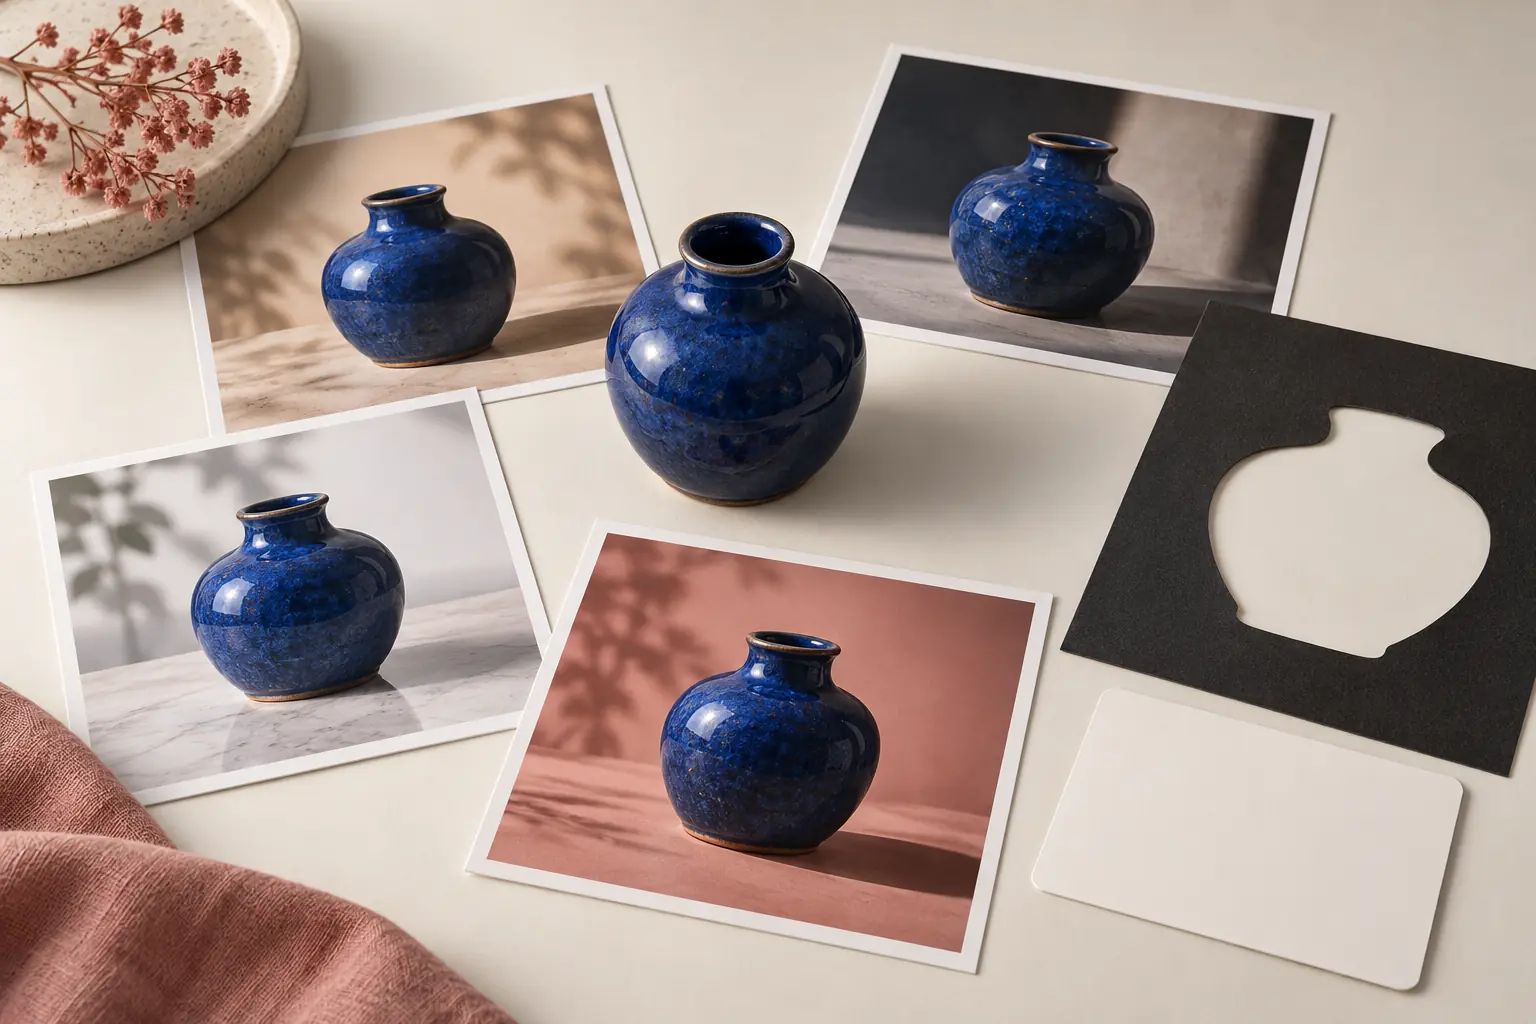
| Before/after | Demonstrate a transformation | Real test output | Side-by-side WebP |
| Framework | Explain a process or hierarchy | Designed diagram | WebP or accessible HTML |
| Data claim | Show the underlying result | Chart from verified data | WebP plus source |
| Social card | Package the idea for sharing | Adapted hero/design | Platform-specific WebP/JPEG |
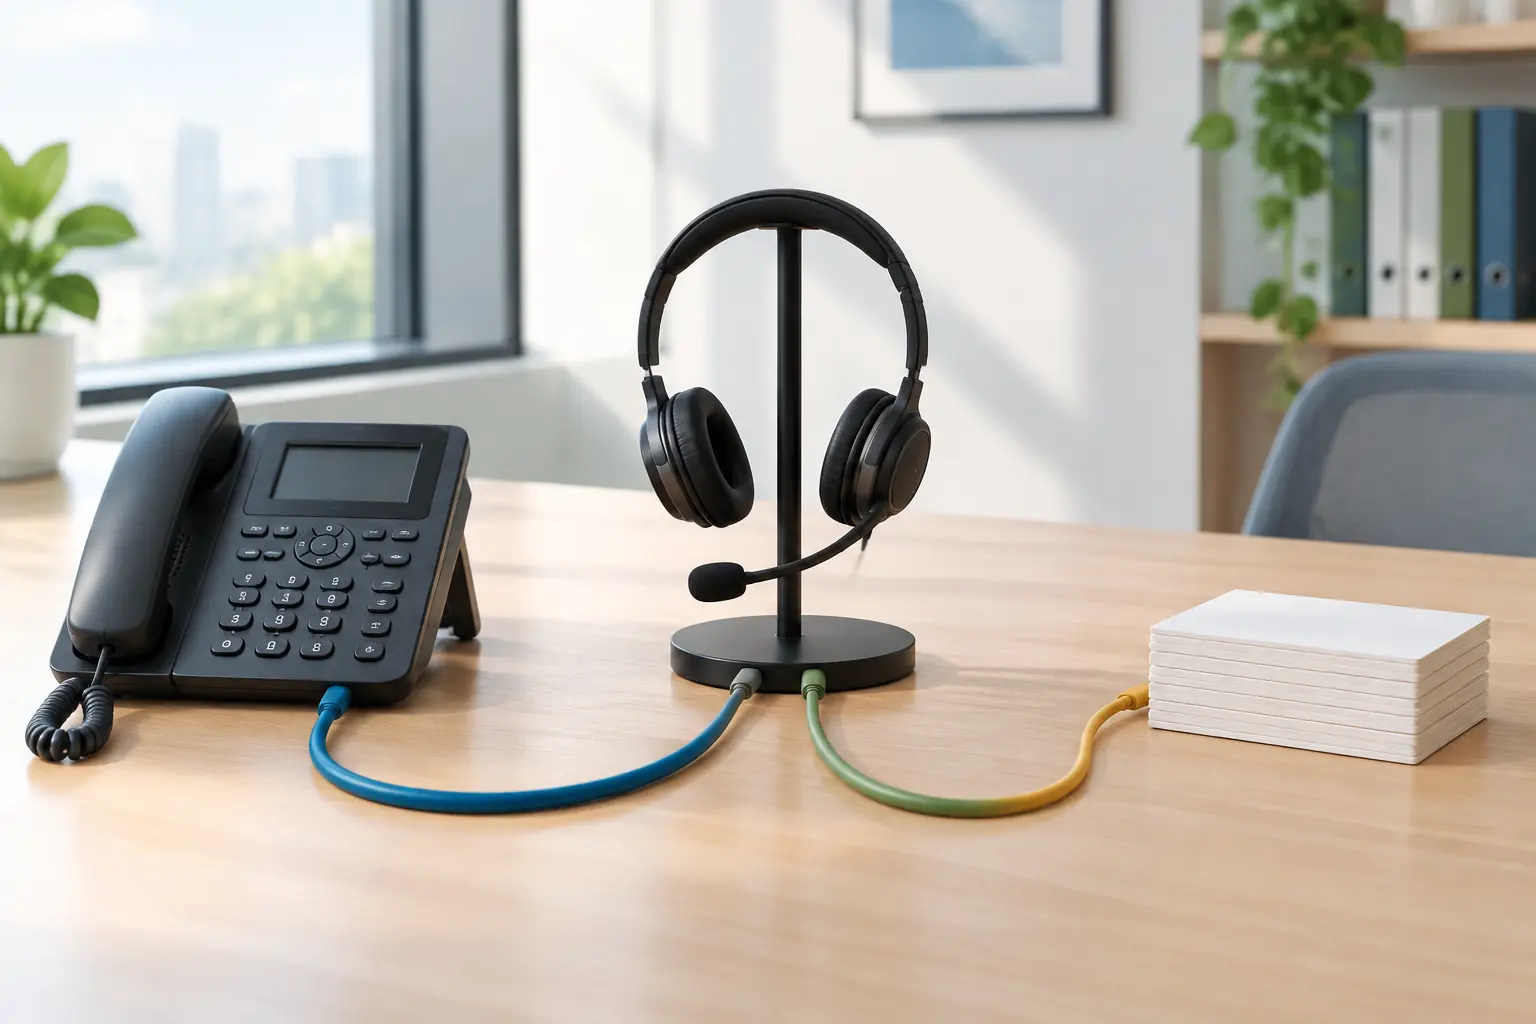
The hero is not evidence. A generated dashboard should never appear beside text claiming that a feature exists. Capture the real interface instead. Likewise, a stock-style person using a headset does not prove that an AI voice agent resolved a call.
Choose the Right Image Type for the Claim
Match the image type to the claim
Generated hero image
A hero should signal the exact topic in less than a second. It needs one dominant subject, clean negative space, and a composition that survives cropping. Avoid embedded headlines unless the model has demonstrated reliable typography and you plan to verify every character. WordPress, social platforms, and localization all work better when the title remains live text.
Product screenshot
Use a screenshot when the reader needs to locate a control, compare a setting, or confirm a product claim. A screenshot has evidentiary weight that generated imagery does not. Capture the complete factual region: labels, values, footnotes, and relevant context. Do not publish loading skeletons or cropped claims.
Generated explainer illustration
An illustration can show an abstract workflow such as “brief to prompt to selection to optimization.” Keep it simple enough that the article text remains primary. If exact labels are essential, add them in a design tool after generation rather than relying on synthetic text.
Real test output
When evaluating an image model, show the source, the full prompt, the resulting image, and the observed limitation. An output supports only the run you performed. One attractive result does not prove universal consistency.
De Handleiding voor de Nano Banana-prompt provides examples of structured prompting, while the guide to afbeeldingen bewerken met tekstaanwijzingen is more relevant when a reference asset must survive the change.
Turn the Article Brief Into a Visual Brief
A visual brief reduces random variation by translating editorial intent into constraints. Write it before the prompt.
If your site has a visual system, encode its palette, contrast, camera distance, materials, lighting, and exclusions as reusable tokens. Consistency should come from controlled choices, not the same scene repeated across every article.
A Prompt Formula That Produces More Useful Results
Gebruik deze volgorde:
Here is a complete hero prompt:
How to Create Consistent Images Across a Blog
Consistency does not mean cloning the same image. It means that readers can recognize the publisher’s choices.
Create a lightweight style sheet with:
- two background families;
- one primary and one accent color;
- approved illustration or photography style;
- standard hero aspect ratio;
- preferred camera angles;
- rules for people, devices, and interface elements;
- a negative-prompt library;
- two example images that represent the target quality.
When a model accepts references, include an approved brand asset or prior image. State what to borrow and what not to copy. For example: “Use the reference only for palette, paper texture, and lighting. Create a new composition and new objects.” This is safer and more precise than “make it like this.”
For recurring characters or objects, create a reference sheet with front, side, color, material, and proportion views. Even then, inspect every output. Generative consistency is probabilistic. The guide to combining images with ChatGPT can help when several source elements need to be assembled, while image resizing with ChatGPT explains why a new aspect ratio may require recomposition rather than simple stretching.
Edit the Best Candidate Instead of Regenerating Forever
Once one candidate has the right composition, move to editing. Repeatedly generating from the original prompt throws away what already works and makes selection endless.
Use an edit request with explicit preservation instructions:
The preservation language improves direction but does not guarantee pixel identity. Compare the edit against the selected candidate, especially around product details, faces, hands, text, and repeated patterns. For general edit capabilities, see whether ChatGPT can edit images en whether ChatGPT can modify images.
A Review Scorecard for Every Candidate
Do not approve an image because it is pretty. Score it against the job.
| Criterium | Vraag | Score |
|---|---|---|
| Relevantie | Does it communicate this article’s exact topic? | 0-2 |
| Focal clarity | Is the main subject obvious at thumbnail size? | 0-2 |
| Factual integrity | Could any synthetic detail be mistaken for evidence? | 0-2 |
| Brand fit | Does it follow the approved visual system? | 0-2 |
| Crop resilience | Does it work on desktop, mobile, and social crops? | 0-2 |
| Artifact control | Are hands, text, geometry, and edges credible? | 0-2 |
| Toegankelijkheid | Can its purpose be expressed clearly in alt text? | 0-2 |
Reject candidates with a factual-integrity score of zero. A convincing fake interface is dangerous because a reader may treat it as product evidence.
Web Optimization: Make the Image Fast
Crop for the real container
Know the theme’s displayed aspect ratio before final export. A 3:2 hero is a useful default for blog packages, but your site may crop to 16:9 or a narrower card. Keep faces, products, and key objects inside a central safe area.
Resize to the maximum useful width
Export for the largest real container width and use responsive variants when your stack supports them.
Use WebP for publication
WebP provides a strong balance of quality and file size for blog photography and illustrations; see the official web.dev WebP guidance. Text-heavy screenshots may need lossless WebP or a higher-quality setting.
Include intrinsic dimensions
Set width and height so the browser reserves space before the image loads. This reduces layout movement. Do not use those attributes to distort the asset; preserve its aspect ratio in CSS.
Delay below-the-fold images
Lazy-load supporting visuals, but test the hero separately when it is the largest visible element.
Filenames, Alt Text, and Captions
A filename should describe the asset without keyword stuffing:
Alt text communicates the image’s meaning in context. It is not a hidden caption or a place to repeat every target keyword.
De officiële website van Google image SEO documentation is the authority for current search guidance; alt text still needs to describe the image for the page’s actual reader.
Weak alt text:
Better alt text:
If an image is purely decorative, use empty alt text so assistive technology can skip it. If it contains essential text, include that meaning in adjacent live HTML whenever possible. Captions are useful for test conditions, source attribution, and limitations visible to every reader.
For commercial publishing, do not assume that a generated image is automatically clear of all rights questions. Review provider terms, input ownership, trademarks, likenesses, and local requirements. The richtlijnen voor commercieel gebruik van AI-afbeeldingen is a practical starting point, not a substitute for legal advice.
A Repeatable Production Workflow
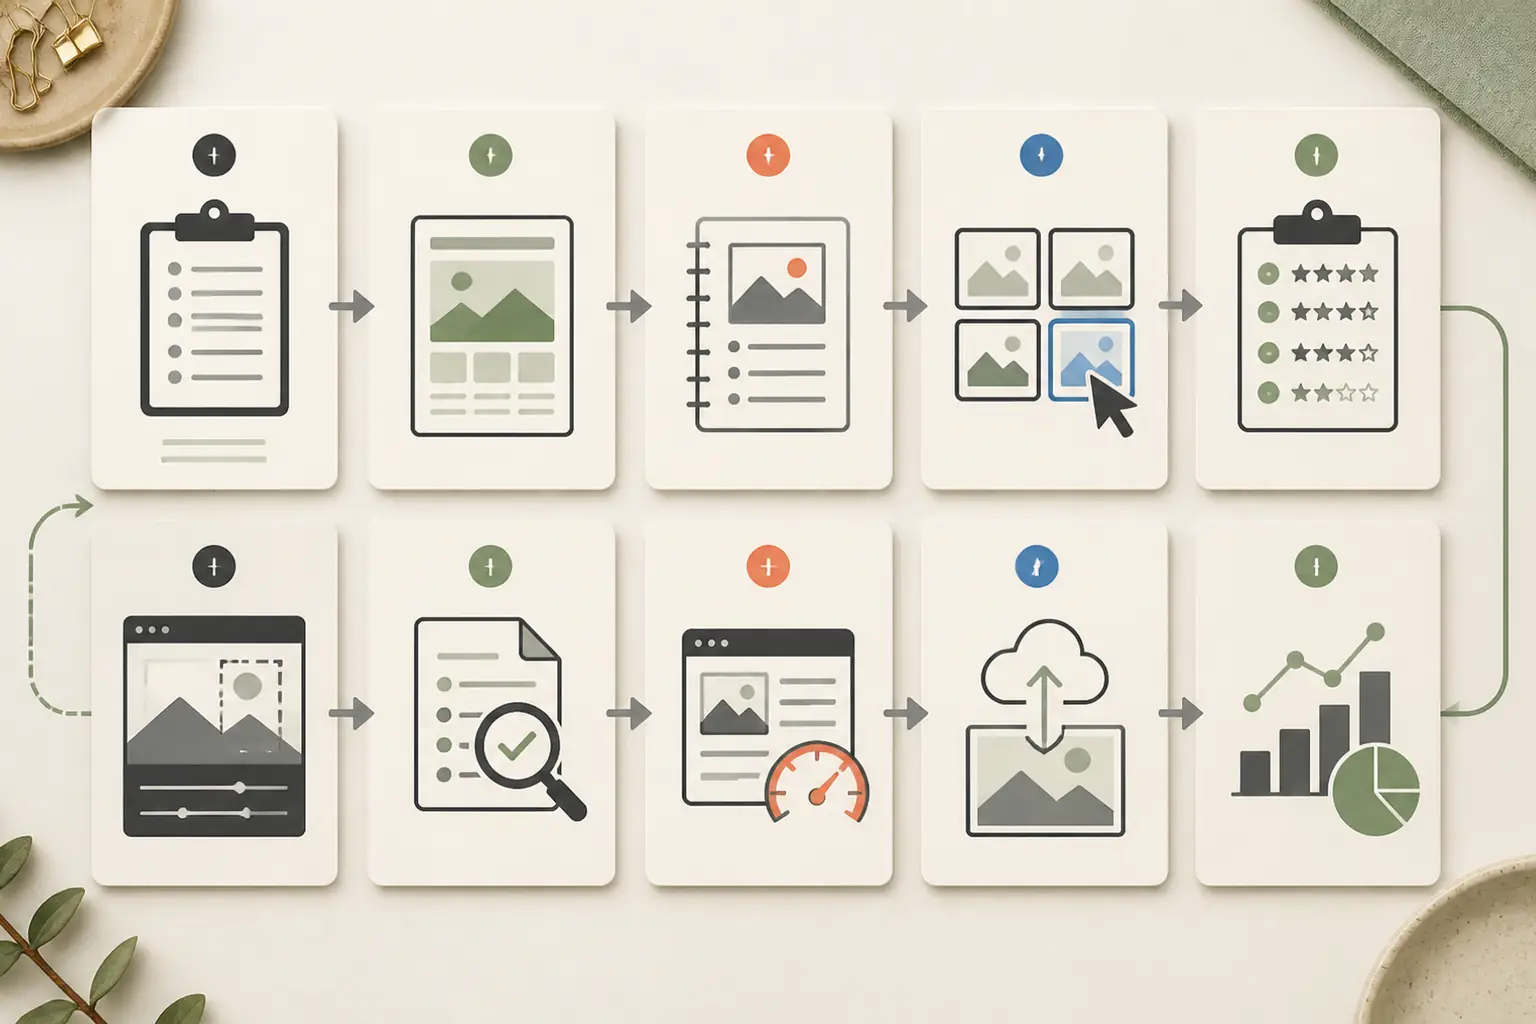
Ten steps from outline to measured result
Step 1: Finish the article outline
Identify claims that need evidence, steps that need screenshots, and abstract sections that may benefit from illustration.
Step 2: Build the image map
Assign a job, source type, dimensions, alt-text draft, caption need, and insertion point to every asset.
Step 3: Write the visual brief
Define audience, subject, composition, style, brand constraints, negative constraints, and crop requirements.
Step 4: Generate a small candidate set
Create two to four options. Record the model, complete prompt, date, settings, and task identifier if one is available.
Step 5: Select against the scorecard
Reject generic, misleading, or fragile compositions. Document why the selected image won.
Step 6: Edit surgically
Preserve the successful composition and request only necessary corrections. Use a conventional design tool for exact typography or logo placement.
Step 7: Verify facts and rights
Check every readable word, interface element, person, logo, product detail, and factual implication. Confirm the use case is permitted.
Step 8: Optimize for the web
Crop, resize, convert to WebP, verify dimensions and file size, and inspect the final asset at actual display width.
Step 9: Upload and verify
Use the exact URL returned by the media system. Open it independently and confirm content type, bytes, dimensions, and visual integrity before inserting it into the article.
Step 10: Measure the result
Watch click-through rate, engagement, layout stability, and image-search traffic. Run controlled hero tests when the page has enough traffic. Do not declare success from preference alone.
A Low-Cost Hands-On Test
You can test this workflow without an expensive batch. Choose one article and create only three assets:
- One 3:2 hero generated from a structured prompt.
- One edited version that preserves the hero but corrects a visible weakness.
- One real screenshot or before/after image that supports a body claim.
Record the prompt, selected model, task ID, generation status, output size, review score, edit request, and final web file size. If generation fails, include the failure. If the edit changes something it was told to preserve, state that limitation.
This evidence is more credible than a gallery of unexplained outputs and creates a reusable benchmark for later models.
Veelgemaakte fouten die je moet vermijden
Using generated UI as a product screenshot
Synthetic interfaces invent controls and text. Use the real product interface for tutorials and feature claims.
Putting the article headline inside the image
Embedded text can be misspelled, inaccessible, hard to localize, and awkward when cropped. Keep the headline as HTML unless the asset is a separately designed social card.
Publishing the first output
Generation is draft creation. Selection, verification, editing, and web optimization are part of the job.
Generating too many near-duplicates
More outputs can hide a weak brief and increase cost. Improve the art direction before expanding the batch.
Writing alt text for search engines instead of readers
Describe the meaningful content and function. Repeating the keyword does not make an irrelevant image useful.
Hiding failed tests
A model that distorted a hand, changed a product label, or ignored an exclusion teaches readers where human review is needed. Honest limitations build more trust than a cherry-picked success.
Create Blog Images in One Multi-Model Workspace
An API-first pipeline makes sense for publishers that need automated generation, asset databases, versioning, and programmatic controls. It also creates engineering work: secrets, retries, budgets, image validation, model migrations, and storage.
GlobalGPT is a faster choice for writers and small teams that want to compare image models, revise a selected output, and keep production moving in one workspace. You can use one model for a photographic hero and another for precise reference editing instead of forcing every asset through the same tool.
Try GlobalGPT for your next blog image, starting with one article, one structured visual brief, and a three-asset test. Keep the winning process, not just the winning picture.
Veelgestelde vragen
What is the best AI image size for a blog hero?
A 3:2 landscape image is a practical default because it works well in article headers and adapts to many cards. Export for your actual theme width, preserve a central safe area, and test desktop and mobile crops before publishing.
Should every section have an AI-generated image?
No. Add an image only when it explains, proves, compares, or improves navigation. Several generic images can slow the page and weaken trust. One strong hero plus real screenshots may be the better package.
Mag ik door AI gegenereerde afbeeldingen commercieel gebruiken?
Commercial use depends on the provider’s current terms, your inputs, the depicted people and brands, and applicable law. Review those conditions for the exact model and use case. API or subscription access alone does not clear third-party rights.
How do I keep AI blog images consistent?
Use a written style sheet, recurring palette, standard aspect ratios, approved reference assets, and explicit preservation instructions. Consistency still requires review because generative outputs can drift between runs.
Are AI-generated screenshots acceptable in tutorials?
No. Use real screenshots for interface instructions and product claims. A generated interface may invent labels and controls. Generated mockups are acceptable only when clearly presented as conceptual artwork rather than evidence.
What file format should I use for AI blog images?
WebP is a strong default for publication. Use lossless or higher-quality settings for text-heavy screenshots, include intrinsic dimensions, and inspect the converted file at its actual display size.