
Als een door AI gegenereerde afbeelding er nep uitziet, ligt het probleem meestal niet bij één opvallende fout. Het is een opeenstapeling van kleine signalen: een huid die eruitziet als zacht plastic, schaduwen die niet kloppen, rekwisieten met een vreemde schaal, tekst die er bijna goed uitziet, of een camerahoek die geen enkele echte lens zou kunnen produceren. De oplossing bestaat ook uit een reeks stappen: begin met een realistische scène, geef het model visuele beperkingen, beoordeel het eerste resultaat als een fotobewerker en werk vervolgens alleen de delen bij die de geloofwaardigheid ondermijnen.
Deze workflow is op 30 juli 2026 bijgewerkt aan de hand van de actuele documentatie over het genereren van afbeeldingen uit OpenAI en Google Tweelingen, plus advies van Midjourney, C2PA en Google Search Central. Het komt simpelweg hierop neer: fotorealisme ontstaat door de volledige beeldverwerkingsketen te beheersen, niet door het woord “realistisch” aan een prompt toe te voegen.
Als je een paar kledingstijlen met elkaar wilt vergelijken voordat je een definitieve keuze maakt, De beeldgenerator van GlobalGPT is een handige plek om dezelfde scène in verschillende workflows te testen. Gebruik het als een werkruimte om te vergelijken: zoek het model dat het beste aansluit bij je onderwerp, belichting en bewerkingen, en voer vervolgens nog steeds de onderstaande realiteitscontroles uit voordat je het publiceert.

Alles-in-één AI-platform voor schrijven, afbeeldingen en video's maken met GPT-5, Nano Banana en meer
Kort antwoord: Hoe zorg je ervoor dat AI-afbeeldingen er echt uitzien?
Zorg ervoor dat door AI gegenereerde afbeeldingen er echt uitzien door een geloofwaardige foto te beschrijven, niet een perfect beeld. Geef het onderwerp, de omgeving, de lens, de lichtinval, materiaal details aan, en wat er onvolmaakt moet blijven. Gebruik een referentieafbeelding wanneer de pose, de compositie, de vorm van het product of de merkconsistentie van belang zijn. Controleer na het genereren het resultaat op handen, ogen, reflecties, schaduwen, schaal, herhalende patronen, objecten op de achtergrond en tekst. Bewerk vervolgens alleen de betreffende delen in plaats van de hele afbeelding opnieuw te genereren bij elk klein foutje.
De snelste bruikbare formule
Echt onderwerp + echte omgeving + echte camera + heldere lichtbron + geloofwaardige materiaaldetails + ingetogen onvolkomenheden + één bewerkingsronde.
Waarom AI-afbeeldingen er nog steeds nep uitzien
De meeste foto’s die met zwakke AI zijn gemaakt, mislukken omdat ze te glad en te perfect zijn. Een echte productfoto vertoont kleine stofdeeltjes, oneffenheden in de stof, samengedrukte schaduwen, vingerafdrukken, onvolmaakte weerspiegelingen en een achtergrond die dezelfde belichting heeft als het onderwerp. Een foto die er nep uitziet, vertoont vaak het tegenovergestelde: alles is even scherp, even gepolijst en even belicht.
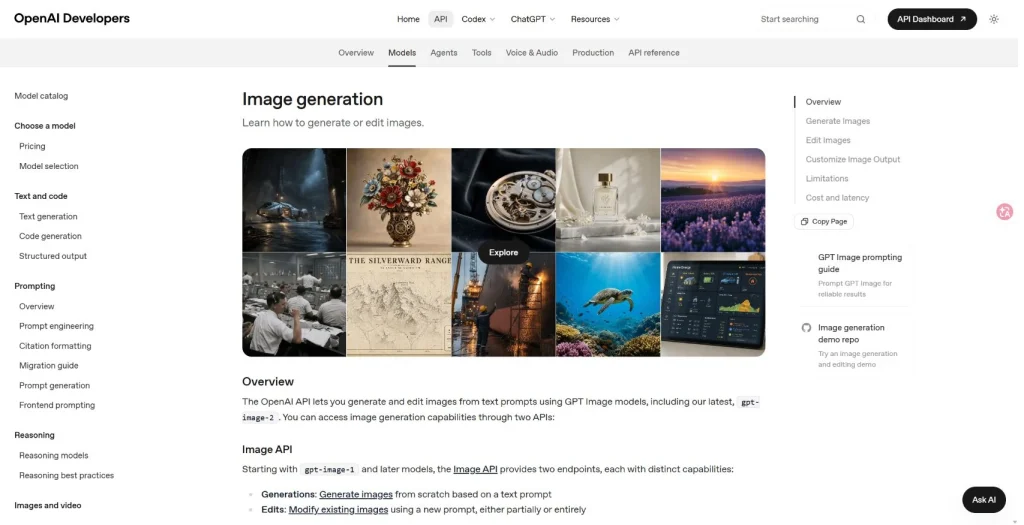
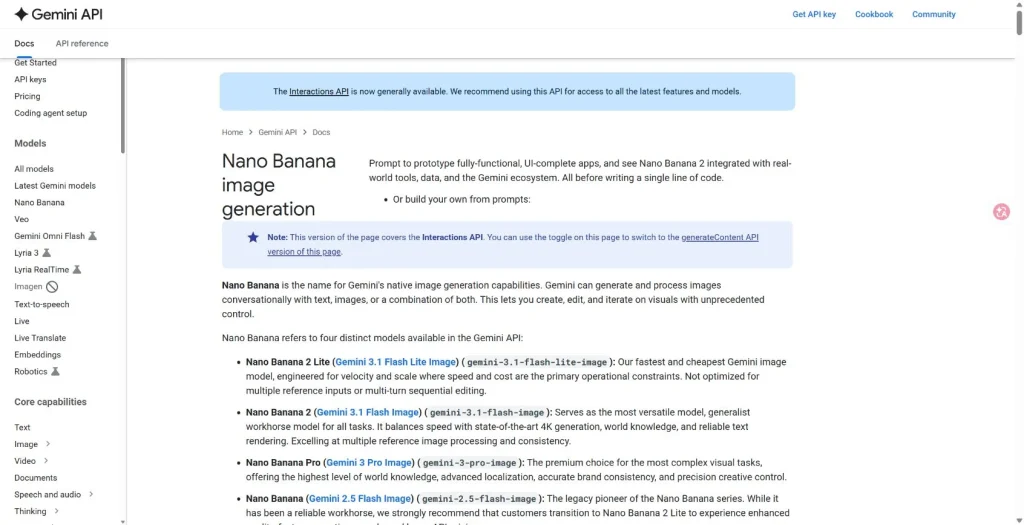
De nieuwere beeldmodellen zijn beter in het opvolgen van gedetailleerde instructies, maar hebben nog steeds een realistisch kader nodig. De beelddocumentatie van OpenAI richt zich nu bij het genereren en bewerken van beelden op de huidige beeldmodellen, zoals GPT afbeelding 2, terwijl in de documentatie van Google over het genereren van afbeeldingen Nano Banana-modellen worden beschreven voor het genereren en bewerken ervan. Dat maakt de tool krachtiger, maar de redacteur moet nog steeds bepalen wat er op een geloofwaardige foto moet staan.
De checklist voor realisme in AI-beelden
Voordat je de afbeelding opnieuw genereert, moet je deze even controleren aan de hand van een korte checklist voor fotobewerking. Dit bespaart tijd, omdat je zo direct problemen kunt onderscheiden van kleine correcties.
| Controleer | Waar moet je op letten | Snelle oplossing |
|---|---|---|
| Lichtbron | Vallen schaduwen allemaal in dezelfde richting? | Voeg één heldere lichtbron toe en verwijder concurrerende lichtbronnen. |
| Cameralogica | Lijken de lens, de hoek en de scherptediepte haalbaar? | Geef een reëel lensbereik, de hoogte van de camera en het focusvlak op. |
| Handen en gezichten | Zijn de ogen, tanden, vingers, oren en de textuur van de huid natuurlijk? | Gebruik een strakkere uitsnede, een referentiehouding of gerichte inpainting. |
| Materialen | Hebben stof, glas, metaal, plastic of voedsel een echte textuur? | Voeg beschrijvende bijvoeglijke naamwoorden toe die betrekking hebben op de verlichting, niet alleen op de stijl. |
| Tekst en logo's | Is de zichtbare tekst leesbaar en correct geplaatst? | Genereer de tekst zonder inhoud en voeg vervolgens handmatig typografie toe wanneer nauwkeurigheid van belang is. |
| Achtergrondcoherentie | Komen meubels, rekwisieten, weerspiegelingen en horizonlijnen met elkaar overeen? | Geef een volledige beschrijving van de omgeving en verwijder overbodige rommel op de achtergrond. |
Lokaal repareren of opnieuw genereren?
Als je productfoto’s maakt, past deze checklist goed bij een productspecifieke workflow zoals realistische productafbeeldingen maken met Nano Banana, omdat het realisme van een product sterk afhangt van de schaal, de etiketten, de materialen en de schaduwovergangen.
Een promptformule die AI-foto’s geloofwaardiger maakt
Een goede opdracht voor realistische foto’s moet lezen als een beknopte art direction-briefing. Het moet het model duidelijk maken wat een echte fotograaf zou moeten weten, en tegelijkertijd ruimte laten voor alledaagse onvolkomenheden.
Gebruik deze structuur
- Betreft: wie of wat er op de afbeelding te zien is.
- Scène: waar het zich bevindt, op welk tijdstip van de dag, wat er in de buurt is.
- Camera: lens, camerahoogte, kadrering, scherptediepte.
- Licht: bron, richting, zachtheid, schaduwgedrag.
- Materialen: huid, textiel, hout, metaal, glas, voedsel, verpakkingen.
- Onvolkomenheden: subtiele nerf, ongelijkmatige structuur, kleine stofdeeltjes, natuurlijke kreukels.
- Uitsluitingen: geen kromgetrokken handen, geen zwevende voorwerpen, geen onleesbare tekst, geen plastic laagje.
Kopieerbare prompt
Een natuurlijke lifestylefoto van een keramische koffiemok op een klein keukentafeltje, ochtendlicht dat van links door het raam valt, een zachte schaduw op het houten oppervlak, 50 mm-lens, camera op tafelhoogte, geringe scherptediepte, zichtbare textuur van het keramiek, minuscule stofdeeltjes, realistische weerspiegeling op het glazuur, een lichtjes ongelijkmatig gedekte stoffen servet, geen vervormde tekst, geen zwevende voorwerpen, geen overdreven gladgestreken oppervlakken.
Het gaat niet om de exacte bewoordingen. Het gaat om de volgorde waarin de details worden toegevoegd. Begin met de scène uit de echte wereld, voeg vervolgens de camera en de belichting toe, en voeg daarna de onvolkomenheden toe die ervoor zorgen dat de foto minder kunstmatig overkomt. Gebruik de Handleiding voor de Nano Banana-prompt als een uitgebreidere bibliotheek met prompts.
Gedetailleerde opdracht versus vage opdracht
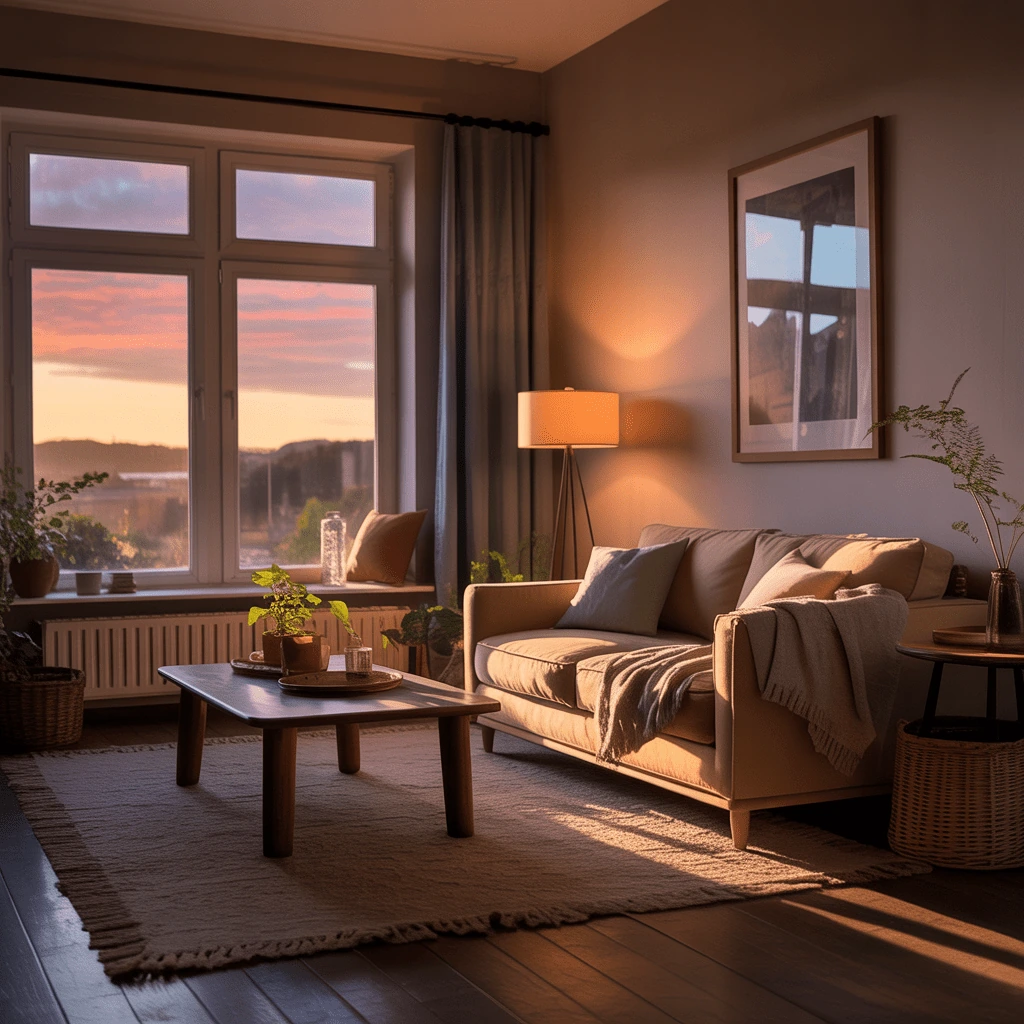
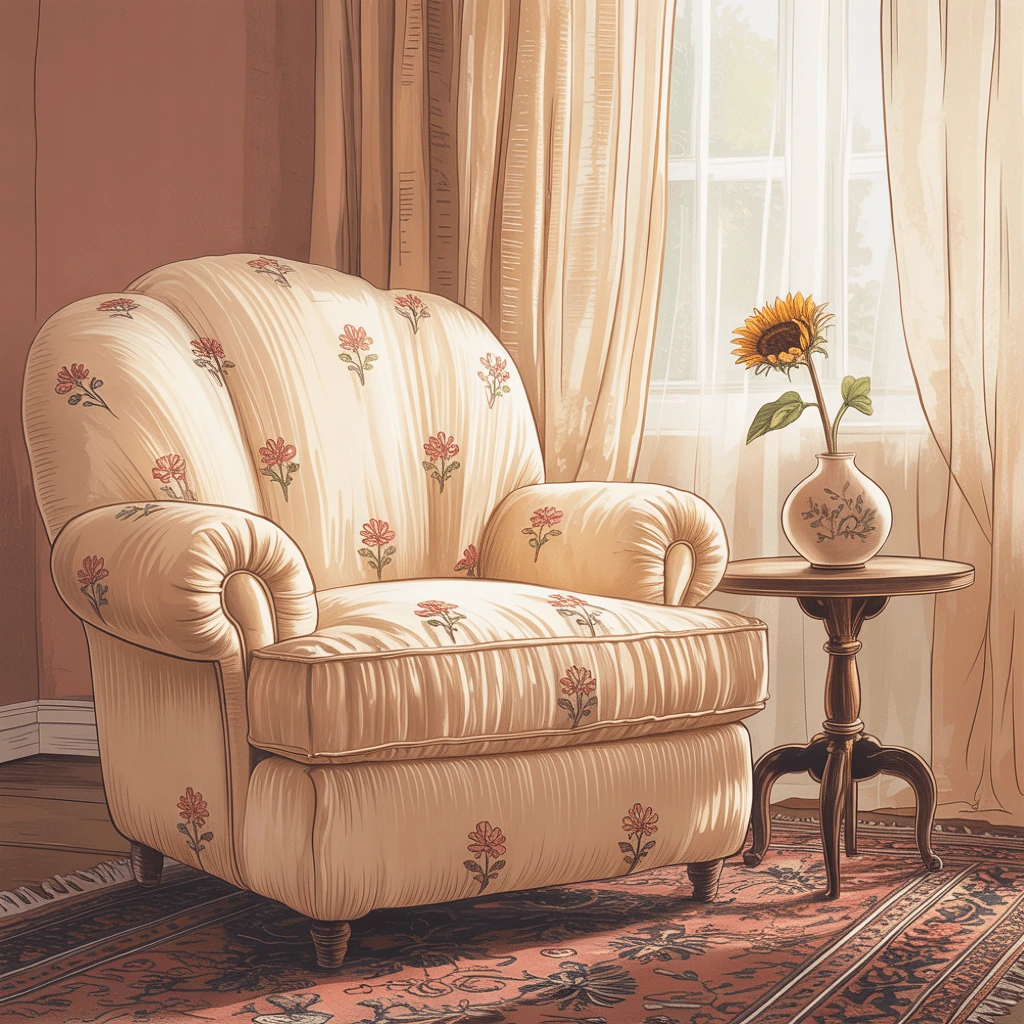
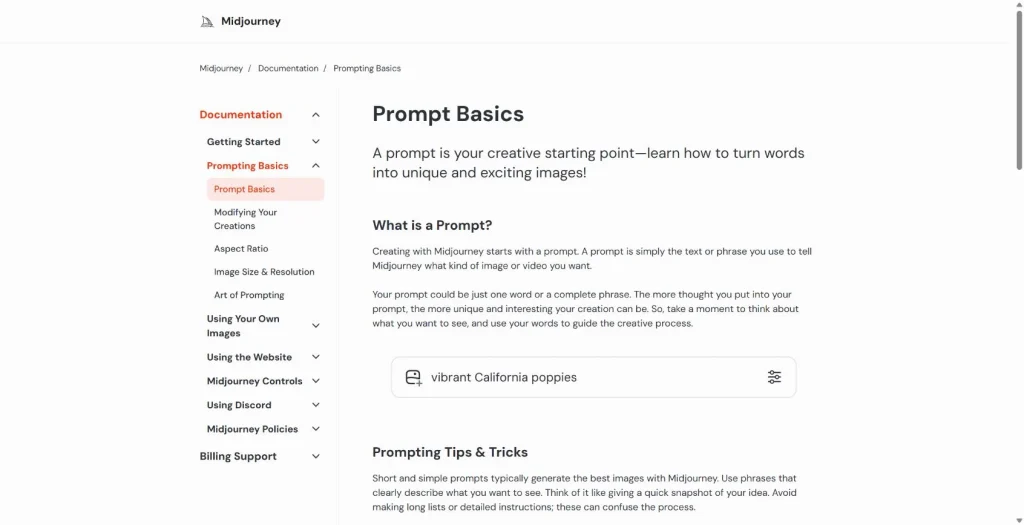
Een gedetailleerde opdracht geeft het model meer bruikbare richtlijnen; dit garandeert echter geen fotorealistisch resultaat. De onderstaande vergelijking laat het praktische verschil zien. De meer specifieke opdracht leidt tot een samenhangende ruimte met gericht licht en herkenbare materialen, terwijl de vage opdracht uitmondt in een gestileerde interpretatie. Beide afbeeldingen moeten nog steeds nauwkeurig worden bekeken voordat ze kunnen worden gebruikt.
Gebruik referentieafbeeldingen zonder deze klakkeloos te kopiëren
Referentieafbeeldingen zijn vooral geschikt voor de structuur, niet als snelkoppeling. Gebruik ze wanneer je een consistent gezicht, een productvorm, een kamerindeling, een pose of een kleurenpalet nodig hebt. Verwacht niet dat een referentie een onduidelijke opdracht kan verhelpen. Als de bronafbeelding slechte belichting of een onhandige compositie heeft, kan de gegenereerde afbeelding die problemen overnemen.
Een overzichtelijkere werkwijze is om het model één duidelijke referentie en één schriftelijke opdracht te geven. De referentie bepaalt de vorm en compositie; de opdracht bepaalt de belichting, de camerapositie, het realisme en wat er niet in beeld mag komen. Dit is van belang voor modellen voor beeldbewerking, omdat de huidige tools steeds vaker zowel het genereren als het bewerken van afbeeldingen ondersteunen. Als je werkwijze meer gericht is op het aanpassen van een bestaande afbeelding dan op het beginnen met een lege opdracht, dan is de handleiding voor afbeeldingen bewerken met ChatGPT is een handige volgende stap. Google beschrijft het genereren van afbeeldingen met Gemini, Nano Banana en Nano Banana Pro, terwijl de afbeeldingsworkflow van OpenAI ook het bewerken en het verwerken van aangeleverde afbeeldingen ondersteunt.
Belichting en camera-instellingen die de foto goed tot zijn recht laten komen
Verlichting is het punt waarop veel AI-afbeeldingen zich verraden. Vermijd prompts waarin zonder verdere aanwijzingen om “filmische verlichting” wordt gevraagd. Geef aan wat de lichtbron is, van welke kant het licht komt en hoe hard of zacht de schaduw moet zijn.
| Doel | Toevoeging aan promptdetails | Waarom het helpt |
|---|---|---|
| Natuurlijk portret | Licht vanuit het raam links van de camera, zachte schaduw onder de kin, 85 mm-lens | Geeft het gezicht een realistische lichtrichting en diepteweergave. |
| Productfoto | Enkele softbox-reflectie op een glanzend oppervlak, contactschaduw onder het product | Voorkomt dat het eruitziet alsof het een zwevend object is. |
| Straatfoto | Een bewolkte middag, weerspiegelingen op het natte wegdek, 35 mm-lens op ooghoogte | Voegt omgevingsaanwijzingen toe die overeenkomen met de camerapositie. |
| Interieurscène | Een combinatie van praktische lampverlichting en raamlicht, met een zichtbare afname in de hoeken | Daardoor lijkt de kamer meer op een foto dan op een gerenderde afbeelding. |
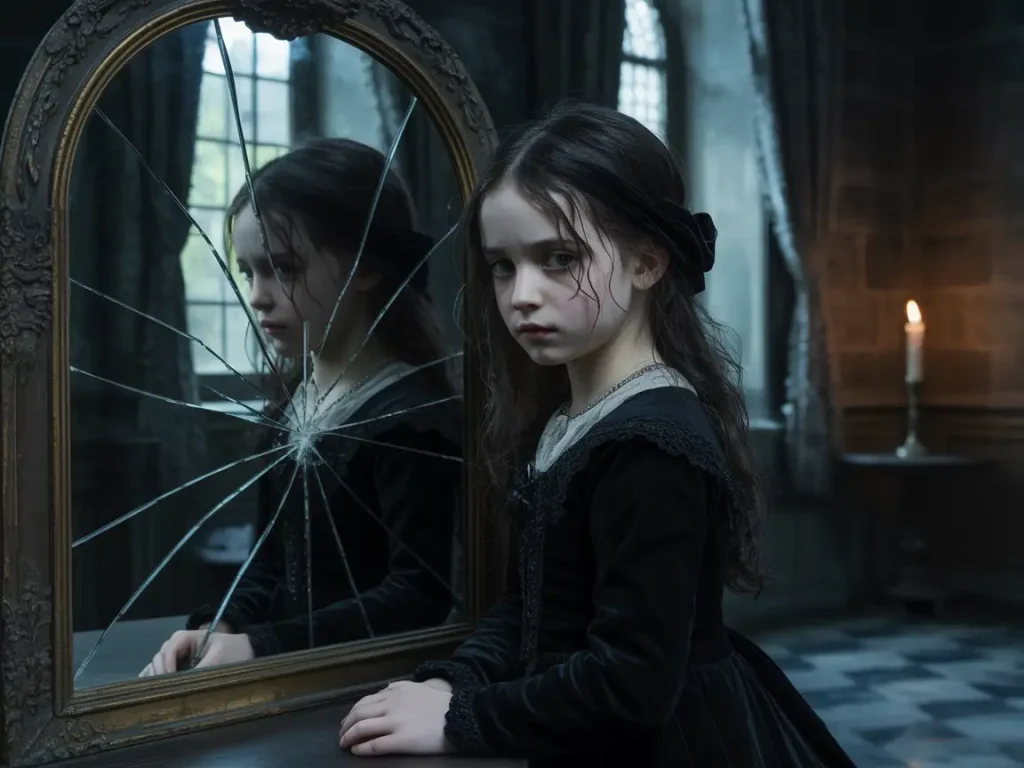
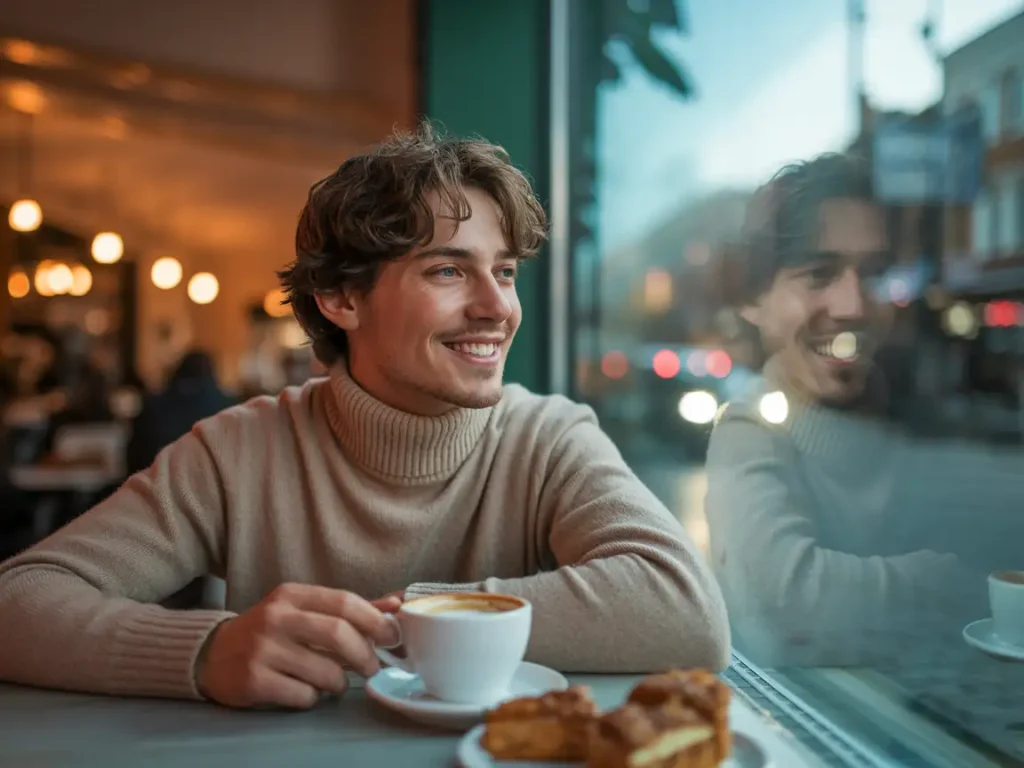
Gebruik niet te veel vaktermen. Een aanwijzing als “8K, DSLR, filmisch, 24 mm, 50 mm, 85 mm, macro, bokeh” geeft het model tegenstrijdige instructies. Kies één concrete visuele richting en houd je daaraan.
Het kiezen van de juiste tool voor realistische AI-afbeeldingen
Welke tool het meest geschikt is, hangt af van wat je onder ‘realisme’ verstaat in jouw specifieke opdracht. Een modefoto, een productfoto, een redactioneel portret, een advertentie voor sociale media en een meme hebben allemaal hun eigen valkuilen. De onderstaande tabel is een praktische keuzegids, geen algemene ranglijst.
| Behoefte | Goede pasvorm | Let op |
|---|---|---|
| Nauwkeurig volgen van instructies en beeldbewerking | GPT afbeelding 2 | Controleer of het model momenteel beschikbaar is en wat de limieten van uw account zijn, voordat u vaste quota toezegt. |
| Product-, lifestyle- en multimodale visuele workflows | Nano Banaan Pro | Raadpleeg de actuele documentatie van Google voor modelnamen en opmerkingen over de migratie. |
| Snelle conceptvarianten met een uitgesproken visuele stijl | Gereedschappen in Midjourney-stijl | De prachtige beelden moeten nog wel zorgvuldig worden bijgewerkt wat betreft tekst en logo’s; vergelijk Midjourney alternatieven als je een andere werkwijze of een ander budget nodig hebt. |
| Zeer gestuurde open werkprocessen | Pijplijnen in Stable Diffusion-stijl | Meer controle betekent meestal meer instellingen en meer nabewerking. |
| Verschillende beeldmodellen vergelijken zonder van tabblad te wisselen | GlobalGPT-beeldgenerator | Gebruik het als een werkruimte voor meerdere modellen, niet als vervanging voor alle officiële productfuncties. |
Als je artikel, advertentie of productpagina afhankelijk is van toegang tot de nieuwste modellen, kijk dan op de dag van publicatie even op de pagina van de aanbieder. Modelnamen en uitvoerregels veranderen sneller dan het advies in de ‘evergreen’-prompt.
Nabewerking: de stap die de meeste beginners overslaan
De meest realistische AI-afbeeldingen ondergaan meestal een opschoningsronde. Dat betekent niet dat er ingrijpende bewerkingen plaatsvinden. Het houdt in dat de paar dingen worden gecorrigeerd die een kijker als eerste opvallen.
Een eenvoudige bewerkingsvolgorde
- Bijsnijden gaat voor, want de compositie bepaalt hoe onvolkomenheden overkomen.
- Stel de belichting en de witbalans in voordat je een stijl toevoegt.
- Handen, ogen, tekst, labels en scherpe randen corrigeren.
- Voeg alleen een lichte korrel of textuur toe als de afbeelding te strak overkomt.
- Scherp selectief, vooral rondom het onderwerp, en niet het hele beeld.
- Exporteer het bestand in het formaat dat je daadwerkelijk nodig hebt en bekijk het vervolgens op 100%.
Bij kleine webafbeeldingen kan een AI-upscaler of een verscherpingsbewerking helpen, maar dit kan een slecht beeld niet herstellen. Als de afbeelding deel uitmaakt van een doorlopende bewerkingsworkflow, vergelijk dan het bredere AI-tools voor fotobewerkingsprogramma's nadat de belangrijkste problemen op het gebied van realisme al zijn opgelost.
Commercieel gebruik, openbaarmaking en herkomst
Realistische AI-afbeeldingen kunnen een vertrouwensprobleem opleveren als de kijker redelijkerwijs mag aannemen dat de afbeelding een documentair karakter heeft. Controleer bij productmodellen, advertenties, redactionele afbeeldingen of sociale campagnes drie zaken voordat je ze publiceert: de commerciële voorwaarden van de tool, of de afbeelding mensen zou kunnen misleiden, en of herkomstvermelding of openbaarmaking in jouw context vereist is.
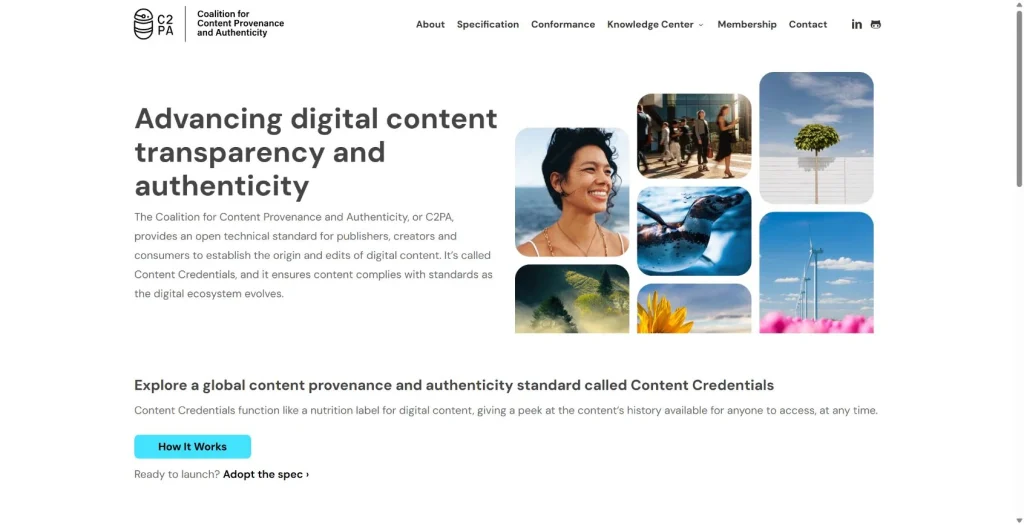
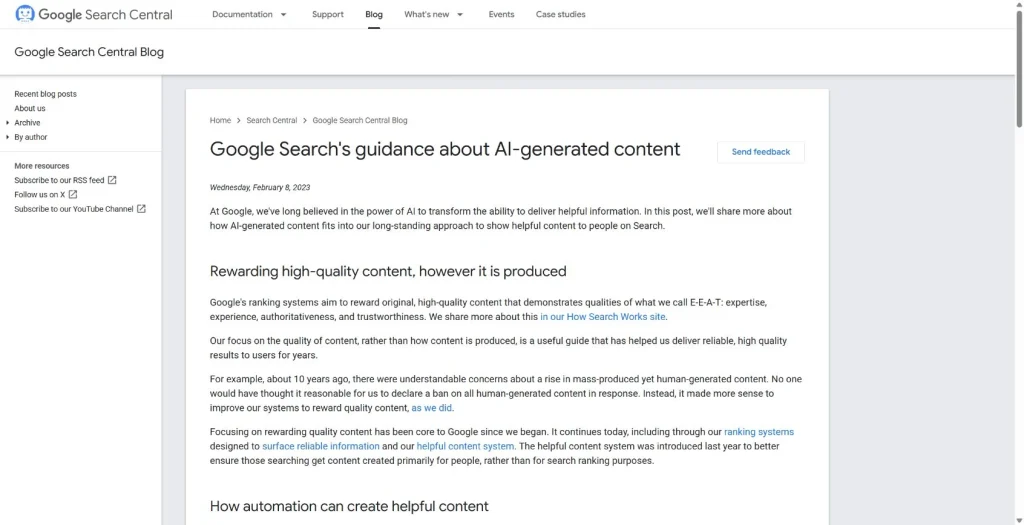
C2PA en Content Credentials zijn in het leven geroepen omdat kijkers, uitgevers en platforms steeds meer behoefte hebben aan een manier om te achterhalen waar media vandaan komen. De richtlijnen van Google Search over door AI gegenereerde content richten zich ook op nuttige, mensgerichte kwaliteit, in plaats van automatisering als het enige probleem te beschouwen. In de praktijk betekent dit dat je realistische AI-afbeelding de pagina op een eerlijke manier moet ondersteunen, en geen verzonnen bewijs mag zijn dat nooit heeft bestaan.
Voor een grondigere controle van de rechten kun je de bijbehorende handleiding raadplegen op het commercieel gebruik van AI-afbeeldingen. Dat onderwerp verdient een aparte controle, omdat licenties, abonnementen en platformregels kunnen veranderen.
Veelgemaakte fouten waardoor AI-afbeeldingen er kunstmatig uitzien
- Stijlwoorden gebruiken in plaats van visuele feiten: “fotorealistisch” is minder specifiek dan “één lichtbron links, contactschaduw op de tafel.”
- Te veel esthetische aspecten tegelijk vragen: elementen uit de filmwereld, de journalistiek, de macrofotografie, de productfotografie, de documentairefotografie en de modefotografie kunnen met elkaar botsen.
- Zonder rekening te houden met de schaal: borden, bekers, handen, meubels en verpakkingen zien er vaak vreemd uit als er geen concrete afmeting wordt gesuggereerd.
- Vertrouwen op gegenereerde tekst: voeg belangrijke labels, logo’s en juridische teksten handmatig toe.
- De huid te glad maken: Echte huid heeft poriën, kleine kleurverschillen en is asymmetrisch.
- Het eerste mooie resultaat publiceren: bekijk de afbeelding op volledige grootte voordat deze in een advertentie, op een productpagina of als hoofdafbeelding bij een artikel wordt geplaatst.
Realistische voorbeelden van prompts per gebruiksscenario
| E-commerceproduct | Minimalistische studiofoto van een matzwarte waterfles op een lichtgekleurde stenen ondergrond, softbox-reflectie op de ronding, scherpe contactschaduw, 70 mm-lens, geen tekstvervorming, geen zwevende voet. |
| Portret | Natuurlijk portret van het hoofd en de schouders van de oprichter van een softwarebedrijf in een klein kantoor, raamlicht van rechts, lichte textuur onder de ogen, realistische huidporiën, 85 mm-lens, neutrale achtergrond. |
| Foto van eten | Foto van een brunchtafel van bovenaf, keramisch bord met toast en bessen, kruimels aan de rand van het bord, zacht daglicht, natuurlijke textuur van het eten, lichte glans van de saus, geen plastic glans. |
| Sociale advertentie | Foto in documentaire-stijl van een student die in een café een laptop gebruikt, natuurlijke handhouding, klanten op de achtergrond lichtjes vervaagd, gemengd binnenlicht, 35 mm-lens, geen leesbare neplogo’s van merken. |
Als je een uitgebreidere beeldverwerkingsworkflow aan het opzetten bent, vergelijk dit dan met ChatGPT-alternatieven voor afbeeldingen zodat de modelkeuze aansluit bij de visuele opdracht, en niet andersom.
FAQ
Hoe zorg ik ervoor dat door AI gegenereerde afbeeldingen er minder nep uitzien?
Begin met het aanpassen van de belichting, de schaal en de textuur. Zorg ervoor dat de afbeelding één duidelijke lichtbron heeft, een realistische camerahoek, geloofwaardige materiaaldetails en natuurlijke onvolkomenheden. Controleer vervolgens de handen, ogen, tekst, reflecties en objecten op de achtergrond voordat je de afbeelding publiceert.
Welke opdracht zorgt ervoor dat door AI gegenereerde afbeeldingen er realistisch uitzien?
Een realistische opdracht beschrijft de scène als een fotobeschrijving: onderwerp, omgeving, camera, lens, lichtrichting, textuur van het materiaal, onvolkomenheden en uitsluitingen. Bijvoorbeeld: “50 mm-lens, raamlicht van links, zachte contactschaduw, zichtbare weefstructuur van de stof, geen verwrongen handen, geen onleesbare tekst” is sterker dan “maak het realistisch”.”
Welke AI-beeldgenerator is het meest geschikt voor fotorealisme?
Er is niet één tool die in alle gevallen het beste is. Workflows in de stijl van GPT Image 2, Nano Banana Pro, Midjourney en Stable Diffusion kunnen allemaal nuttig zijn, afhankelijk van of je behoefte hebt aan het volgen van prompts, bewerking, visuele smaak of lokale controle. Raadpleeg de actuele documentatie van de aanbieder voordat je uitspraken doet over toegang, prijzen of outputlimieten.
Moet ik referentieafbeeldingen gebruiken?
Ja, als structuur belangrijk is. Referentiefoto’s helpen bij de pose, de vorm van het product, de indeling van de ruimte, het kleurenpalet en de consistentie. Voeg bij de referentie een schriftelijke aanwijzing toe, zodat het model weet wat het moet behouden en wat het moet aanpassen.
Mogen AI-afbeeldingen commercieel worden gebruikt?
Vaak wel, maar het hangt af van de tool, het abonnement, de licentie, het onderwerp en de context waarin het materiaal wordt gepubliceerd. Raadpleeg de commerciële voorwaarden van de aanbieder en vermijd het gebruik van realistische AI-afbeeldingen op een manier die kijkers zou kunnen misleiden over echte gebeurtenissen, personen of producten.
Definitieve workflow
- Schrijf de scène op als een echte fotoprijsopdracht.
- Voeg één camera en één verlichtingsopstelling toe.
- Gebruik een referentieafbeelding wanneer de pose, de opstelling of de vorm van het product van belang is.
- Maak verschillende versies en kies de versie die het minst fouten bevat, niet alleen de mooiste.
- Herstel lokale fouten in plaats van de hele image opnieuw op te starten.
- Controleer de rechten, de openbaarmakingsvoorwaarden en de herkomst voordat u het materiaal commercieel gebruikt.
De foto mag er niet uitzien alsof een model zich aan het opdringen is. Het moet eruitzien als een foto die een reden had om gemaakt te worden.