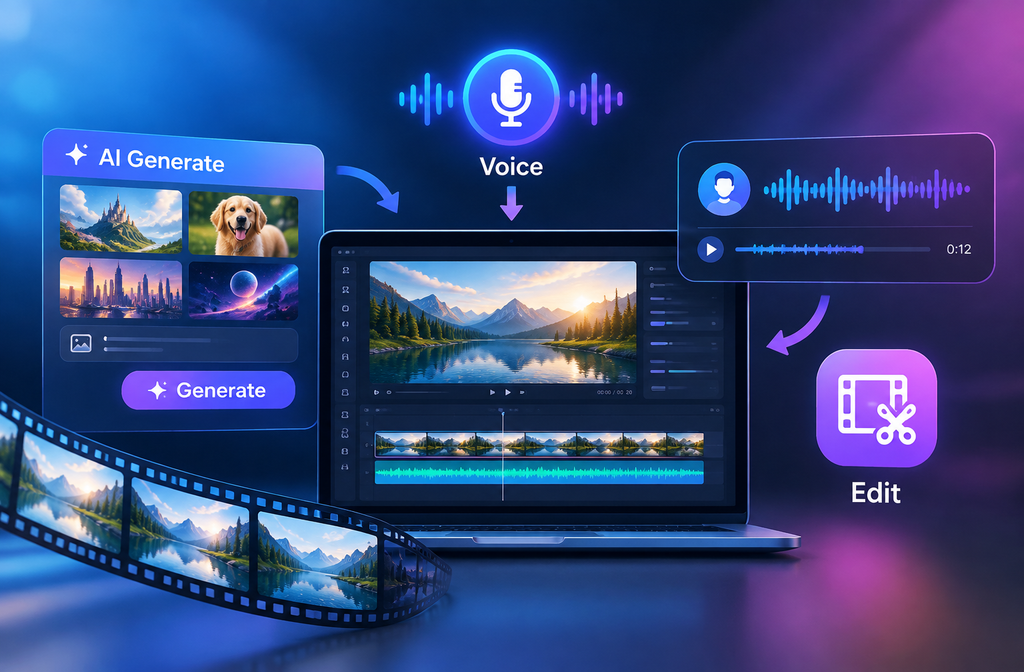
To generate, voice, and edit AI video in one place, treat the workspace as a production system: one brief, one asset trail, clear stage approvals, and a deliberate path from source image to final export. “One place” is useful when it reduces account switching and keeps prompts, models, media, and decisions connected. It does not require pretending that image generation, motion, speech, and timeline editing are the same operation.
The strongest workflow is modular. You approve the message before rendering, the source frame before animating, the motion before recording final narration, and the edit before creating platform versions. This guide shows how to design that workflow in GlobalGPT while keeping specialist voice or editing tools available when the deliverable needs deeper control.
Build One Workflow, Not One Giant Prompt
An AI video project becomes manageable when it is divided into six outputs: a brief, a shot plan, approved source visuals, approved motion clips, a controlled audio package, and a delivery timeline. Each output should be usable by the next stage without reconstructing earlier decisions.
- Define audience, channel, duration, and one action for the viewer.
- Write narration and convert it into a shot list.
- Create still references with framing and continuity rules.
- Generate short motion clips with one main action each.
- Produce dialogue, voiceover, ambience, and music as distinct layers.
- Edit, caption, review, and export the required versions.
planning a video with a chat model is useful for turning an idea into shot-level instructions before generation begins. The organizing principle is simple: every stage should reduce ambiguity for the next one.
Start With the Delivery Spec
Before choosing a model, write the specification for the file you need to publish. Record the platform, aspect ratio, duration, language, caption style, resolution, frame rate, and deadline. Add whether the subject must retain a fixed identity, whether exact product geometry matters, and whether spoken wording must be verbatim.
A vertical talking-head clip and a widescreen product film are different production systems. The first prioritizes face continuity, clean speech, captions, and safe areas. The second may prioritize object shape, controlled camera motion, sound design, and multiple cuts. Starting with delivery prevents a visually attractive clip from becoming an awkward raw material for the actual channel.
Turn the Script Into Atomic Shots
Write the spoken script before generating expensive footage. Read it aloud and time it. Then divide the message into shots that each contain one subject, one action, one camera instruction, and one intended duration. A ten-second sentence may need two or three visual beats rather than one overloaded scene.
For every shot, define a visual purpose and an edit point. “The host introduces the idea” is a purpose; “medium shot, eye contact, one small gesture, hold for two seconds” is a production instruction. Keep cutaways independent from dialogue shots so the editor can cover pauses or pronunciation adjustments without regenerating the presenter. This is where a shared workspace earns its value: the script, shot plan, prompts, and approved assets remain connected.
Create a Source Frame Built for Motion
A good still image is not automatically a good animation source. Leave physical space for the action. Keep both hands visible when gestures matter, separate the subject from the background, avoid tiny readable text, and use lighting that clearly describes the face. For a presenter, choose a relaxed mouth position and a stable three-quarter or frontal pose.
Continuity begins here. Record wardrobe, hairstyle, accessories, microphone position, lens feel, light direction, and background landmarks. When using turning a source photo into video, treat the reference as a layout contract rather than a mood board. Crop a clean master for the intended aspect ratio, keep the uncropped original, and approve the source before spending time on motion.
Write Motion Prompts Like Stage Directions
Motion prompts work best when they describe change across time. Start with the subject action, then facial behavior, hand movement, camera behavior, environmental motion, and ending pose. Use observable language: “raises the left hand once” is clearer than “acts naturally.” Ask for a continuous shot when you need edit-friendly footage, and state what must remain fixed.
Keep the action physically plausible for the requested duration. A five-second clip can support a glance, one gesture, and a short line; it should not contain an entrance, product demonstration, camera orbit, wardrobe change, and exit. The Alur kerja konversi gambar ke video Kling illustrates the same source-to-motion discipline with another model route. Model choice matters, but controlled direction matters first.
Design Audio as Separate Layers
“AI audio” can mean several things: dialogue created with the video, a separately generated voiceover, room tone, sound effects, or music. Treat them as individual layers even when one model can create several at once. Separate layers make timing, level, language, and rights easier to control in the edit.
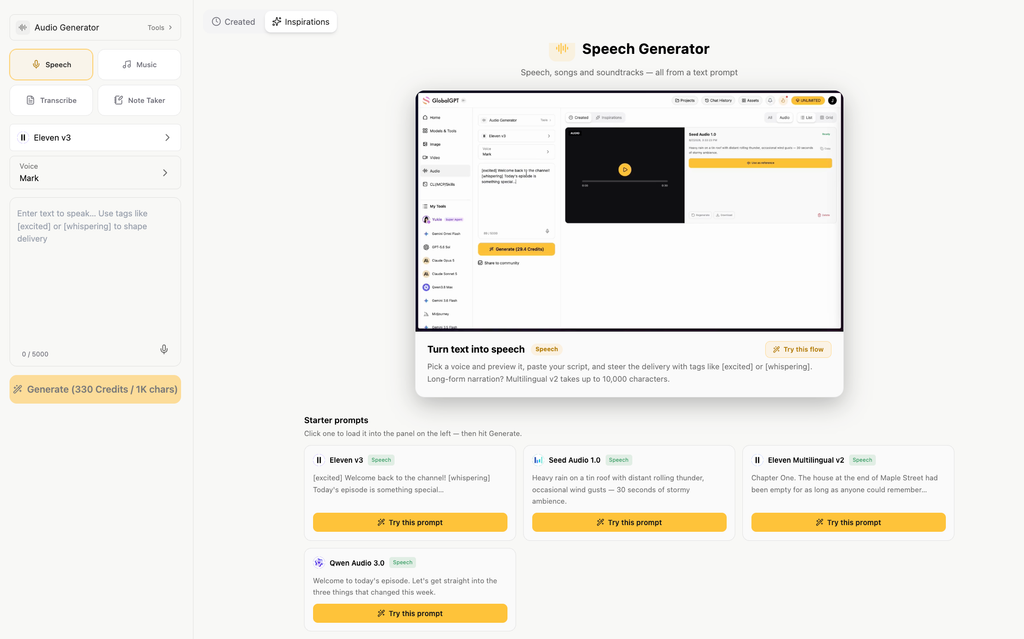
Native dialogue can be convenient when the visual performance and spoken timing are tightly coupled. A dedicated voice track offers more control over pronunciation, pacing, emphasis, and multilingual versions. The Veo dialogue and lip-sync workflow explains the relationship between dialogue prompts and lip sync, while voice, sound-effect, and music tests separates voice, effects, and music decisions. Decide which layer carries the message and which layers merely support it.
Choose the Voice Route by Control Level
Use a real recording when personal performance, testimony, or brand ownership is central. Use a consented synthetic voice when you need repeatable tone, frequent updates, or several languages. Use native generated speech when visual timing matters more than later line-level revision. Presenter-led content may also suit a specialized avatar workflow; the talking-avatar generator comparison compares that category.
Create a pronunciation sheet for names, products, acronyms, and numbers. Mark pauses and emphasis in the script, but avoid filling it with theatrical instructions that the voice system may read literally. Export a clean speech stem, then add ambience and music in the timeline. This preserves the option to replace one layer without rebuilding the picture.
Know What Editing Adds After Generation
Generation produces ingredients. Editing turns them into a deliverable. A useful timeline must let you trim starts and ends, arrange clips, split narration, create J-cuts or L-cuts, adjust levels, add captions, place graphics, review safe areas, and export the right codec and dimensions. Prompt revision alone is not timeline editing.
Start by placing the final narration on the timeline and marking sentence boundaries. Build the picture around those marks, using cutaways to cover joins. Normalize speech consistently, reduce music under important lines, and leave short moments of visual breathing room. Then add captions from the approved script rather than relying on raw transcription. If your central workspace does not offer detailed finishing controls, pass the approved media to a dedicated editor while keeping the manifest and filenames intact.
Use a Three-Prompt Production Kit
Keep image, motion, and voice instructions separate. The image prompt defines the world. The motion prompt defines what changes. The voice direction defines sound and delivery. This makes each prompt reusable, keeps revisions narrow, and allows one approved source to support several motion or language versions.
The templates below are intentionally concrete. Replace the bracketed production details, then remove any instruction that does not serve the shot. More text is not automatically more control. A short prompt with one action and explicit continuity rules is often easier to review than a paragraph containing several competing goals.
Review at Three Quality Gates
Use separate approval gates for source, motion, and final edit. At the source gate, inspect identity, composition, wardrobe, hands, text, and space for captions. At the motion gate, watch the full clip at normal speed, then inspect important frames around gestures, mouth movement, and object contact. At the edit gate, review the story with sound on and off.
Write acceptance criteria before review. Examples include “five visible fingers throughout the gesture,” “brand mark remains legible,” “spoken line matches the approved script,” and “captions stay inside the mobile safe area.” Concrete criteria turn feedback into decisions. A reviewer can approve, request one named revision, or choose another take without relying on vague reactions such as “more cinematic.”
Make Every Asset Self-Describing
Use filenames that carry project, shot, take, language, and status, such as launch-s03-t02-en-approved.mp4. Store the matching prompt and model settings in a manifest. Voice files should identify speaker and revision; caption files should identify language and frame rate. Keep a high-quality master separate from platform exports.
A clean handoff lets you switch a model or editor without rebuilding the project history. It also protects approved work: the motion artist can revise one shot while the editor keeps the narration, music, and captions already in place. “One place” should mean one understandable source of truth, not one folder full of unnamed downloads.
Budget by Approved Stage
Estimate the project by stage: planning, source creation, motion, voice, editing, review, and delivery. Record both platform credits and human minutes. Generation may dominate the visible bill, but script changes, review cycles, file cleanup, caption corrections, and aspect-ratio adaptations often determine the real production cost.
Approve a short motion proof before creating a longer scene. Approve one voice paragraph before producing every language. Finish one representative shot before scaling the visual style across a campaign. These checkpoints make cost predictable because the team is increasing volume only after the creative rules are settled. They also reveal whether a specialist tool would save more time than keeping every stage inside the same interface.
Keep Team Review Specific and Timed
Assign one owner for the script, one for visual continuity, and one for final publication, even if a small team gives one person several roles. Gather notes at scheduled gates instead of allowing continuous revision across every stage. Lock the script before final voice, and lock the voice timing before detailed caption styling.
Feedback should cite the shot and criterion: “S04, product label changes during the turn” or “S07, pause after the product name needs four more frames.” Resolve contradictory comments through the brief rather than averaging them. A shared GlobalGPT project can centralize prompts and generation choices, but approval authority still needs to be explicit.
Handle Voice Rights, Privacy, and Disclosure
Confirm rights to the source image, script, music, voice, and brand assets before production. A real person’s face or voice requires informed permission for the intended use, not merely technical access to a reference file. Store consent and license notes beside the project so the publisher can verify them without searching through messages.
Do not upload confidential footage to a route until you have reviewed current data handling and retention terms. Restrict access to cloned voices, and use them only for the approved speaker, purpose, and languages. For realistic spokesperson, testimonial, educational, or news-style content, decide whether the audience needs an AI disclosure. Record that decision in the delivery checklist so it survives handoff.
Run a Delivery-Level Export Check
- Watch the master from start to finish without stopping.
- Confirm clip order, pacing, continuity, and intended call to action.
- Listen on headphones and a phone speaker for speech clarity and level changes.
- Check captions against the approved script, including names and numbers.
- Inspect title and caption safe areas in every aspect ratio.
- Verify resolution, frame rate, codec, audio channels, filename, and thumbnail.
- Archive the master, delivery files, prompts, rights notes, and manifest.
dedicated AI audio workflows provides additional context for evaluating dedicated audio workflows when sound needs its own production pass.
The Practical One-Place Workflow
The best one-place AI video workflow is not the one with the longest feature list. It is the one that preserves context from brief to export. GlobalGPT can serve as the generation workspace when access to multiple image and video routes in one account helps the team compare approaches without rebuilding the creative brief.
Keep the workflow honest about tool boundaries. Use generation for source visuals and motion, choose a voice route according to consent and control, and use a real timeline for precise finishing. Run one compact pilot containing an image, a short motion clip, a line of speech, captions, and an export before scaling the project.
Open GlobalGPT and build the first production-ready shot with the templates below, then carry only approved assets into the next stage. The result is a connected workflow with fewer handoff errors and more predictable review.
Treat the first approved pilot as the workflow specification. Save its source frame, motion take, voice, captions, timeline settings, export preset, prompts, and rights notes in one project package. That record is more useful than a generic feature checklist because it shows the exact handoffs your team can repeat. Revisit the pilot when the model route, language, brand rules, or delivery format changes, and keep the final master separate from every platform version.
Pertanyaan yang Sering Diajukan
Can I generate, voice and edit an AI video in one place?
Yes, you can coordinate the full workflow in one working environment, while using dedicated voice or timeline tools when the project needs more detailed control.
What should I create first: the voice or the video?
Lock the script first. For narration-led videos, create the approved voice before the final edit; for tightly synchronized dialogue, establish the visual and timing plan together.
What is the difference between native audio and voiceover?
Native audio may include dialogue, effects or ambience generated with the video. Voiceover is a separately controlled speech track with its own speaker, timing and pronunciation.
Why should image, motion and voice prompts be separate?
The image prompt locks the scene, the motion prompt describes change over time, and the voice direction controls delivery. Separate prompts keep revisions focused.
What editing steps still matter after generation?
Trim takes, arrange clips, mix sound, add captions, review aspect ratios and export delivery files. Regenerating a shot is not the same as timeline editing.
Who should use GlobalGPT for this workflow?
Creators and small teams that want access to multiple generation routes in one account can use it as a production hub, with specialist tools added for detailed finishing.